Use Teams to organize class meetings and collaborate with your class.
Add meeting details
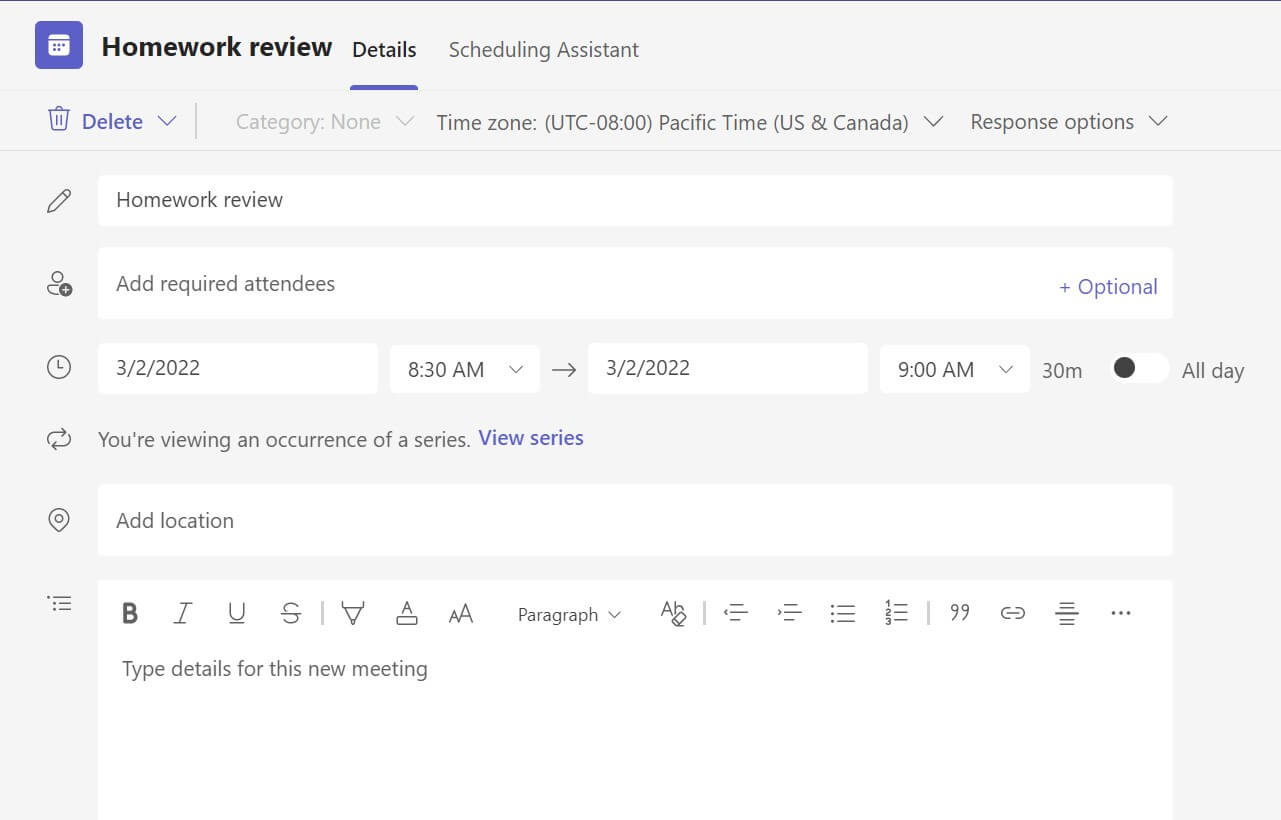
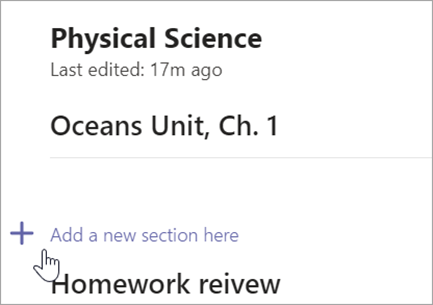
Prep an agenda, highlight learning objectives, or create any other type of note to share with students or colleagues before a meeting.
- To prepare meeting context or notes beforehand, go to the Calendar
 and open your meeting.
 - Enter notes into the text box that says Type details for this meeting.
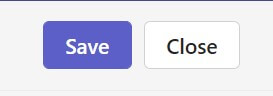
- Select Save.
- To take notes during a meeting, choose More actions
 > Meeting notes > Take notes.
Note
All notes appear in the Chat window and are saved in the Meeting Notes tab in Teams.
Create a Whiteboard canvas
Use the digital online Whiteboard to collaborate with your class, demonstrate math problems, and more.
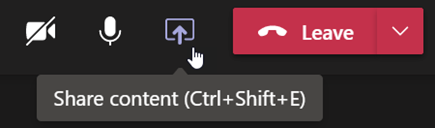
- Select Share content
 on the meeting controls.
 - Choose Whiteboard to start collaborating with your class on a canvas.
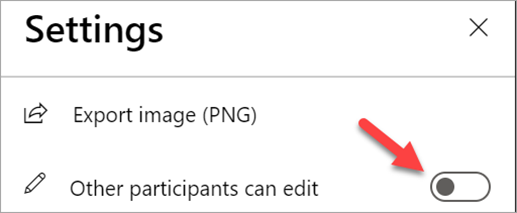
- To turn off collaboration and demonstrate something to your students, select Settings
 , then switch Other participants can edit to Off.
 - Open Settings
and select Export image (PNG) to save your canvas to your Downloads folder.
Note
Explore what you and your students can do with Whiteboard and learn how to use it.
Record class meetings
Share meeting recordings with students for asynchronous learning.
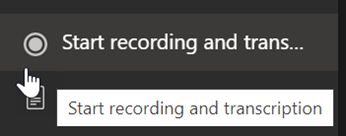
- On the meeting controls, select More actions
.
- Select Start recording and transcription.
Tip
To continue recording without a transcript, choose More actions > Stop transcript.
- When you're done, choose More actions
>Stop recording and transcription, and confirm.
- To playback your recording in a channel meeting, go to Files. All other meetings are saved to OneDrive.
Note
Learn more about playback and sharing recordings.
Use breakout rooms
Use breakout rooms for small group discussions and projects.
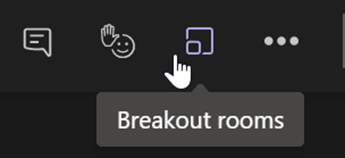
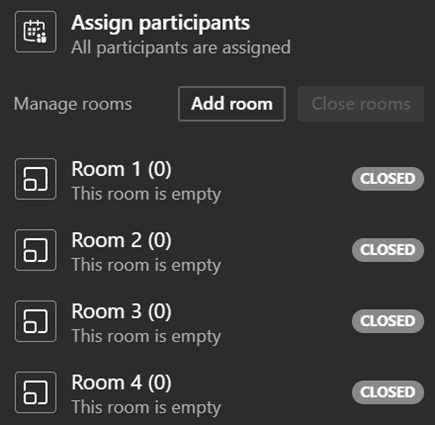
- In the meeting controls, select Breakout rooms.
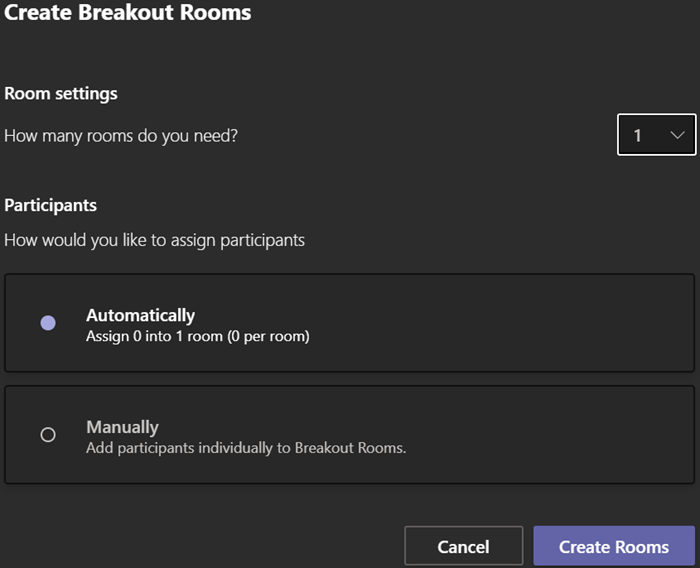
- Choose the number of rooms you want to use for class from the dropdown menu.
- Choose to assign students to breakout rooms Automatically or Manually.
- Select Create rooms. If you chose to automatically assign students, they will be in a breakout room.
- If you chose to assign students yourself, expand the list under Assign participants, hover over student names until checkboxes appear, then check the boxes next to names you want to group together. Then select More options
and assign them to a room. Repeat these steps until all students have been grouped into rooms.
Note
Learn more about setting up and managing breakout rooms.
 and select Export image (PNG) to save your canvas to your Downloads folder.