Use groups in Microsoft Teams for Education to organize students and assign work from one assignment. Choose the group type that matches how students will work:
- Collaboration Groups: Students work together on one shared submission that can be graded together.
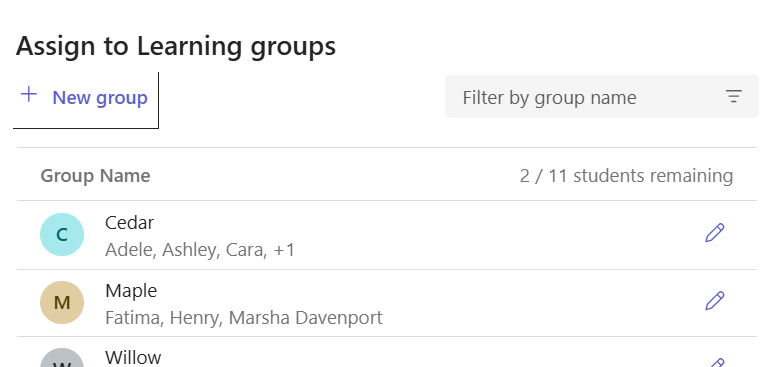
- Learning Groups: Students can receive different resources based on their group, but they complete, submit, and are graded on their own work. Group names and membership are visible only to educators.
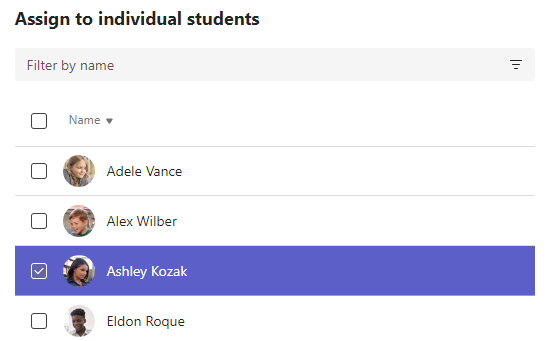
You can also assign work to individual students.
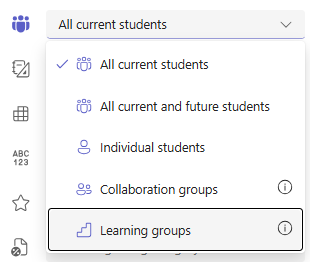
Create a new assignment
- Navigate to your desired class team and select Assignments.
- Select Create > Assignment.
Learn more:
Create a collaboration group
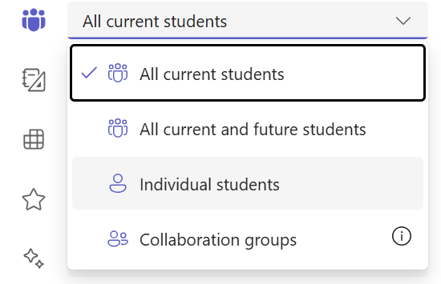
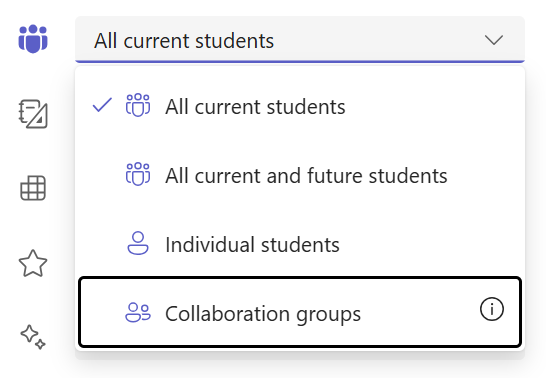
Select the student dropdown under Assign to. By default, All Students is selected. Select Collaboration groups.
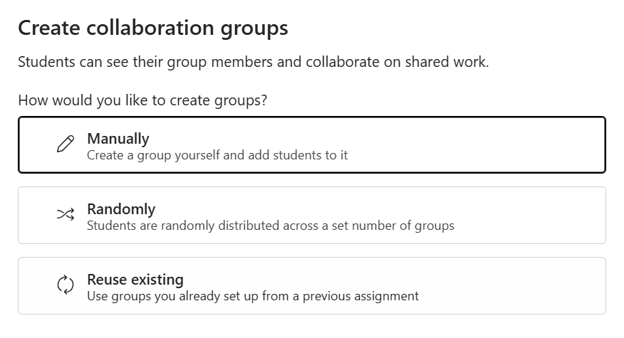
Choose whether you want to create groups Manually, Randomly, or Reuse existing.
If you choose Randomly group students
Enter the number of groups, and then select Create groups.
Review the groups you created.
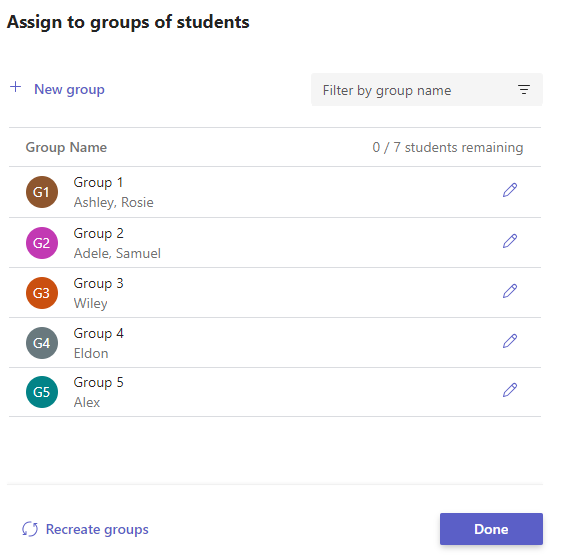
Select Edit
 to change group names or members. You can also delete the group.
Select Recreate groups to start over.
Select + New group to add another group.
Note
To add a new group with students, remove those students from their current groups first. Each student can only be in one collaboration group.
When everything looks good, select Done.
If you need to make more edits, go back to the assignment creation form and select Collaboration groups to revise.
Finish adding details to your assignment, and then select Assign.
Tip
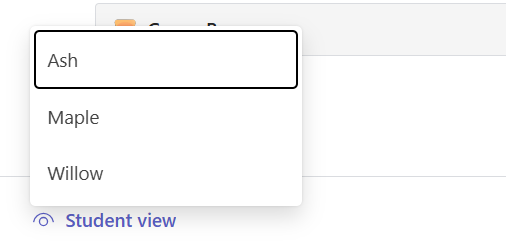
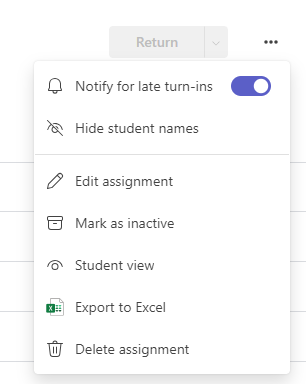
You can preview how your assignment will look to students by opening the assignment and selecting More options
 > Student View.
If you choose Manually group students
Select Create groups.
Edit the default group name, if desired.
Find the students in either of these ways:
- Use the search box to find specific students by name.
- Scroll through the full class roster.
Then select the checkboxes next to the students you want to add to this group.
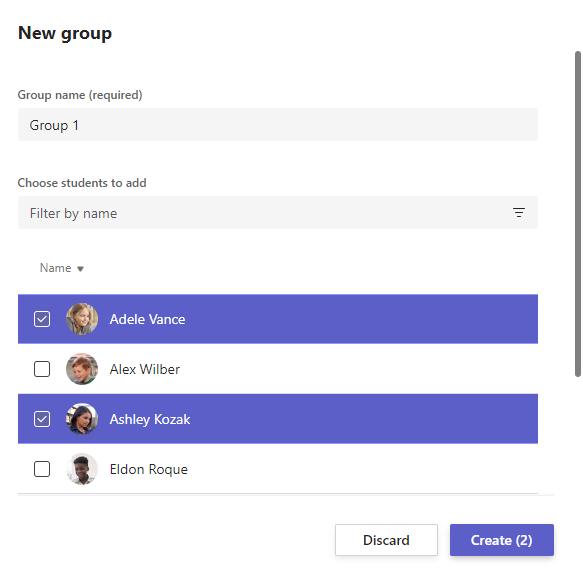
Select Create.
When you're done, select + New group and repeat Steps 2 and 3 until all students are assigned to a group.
Review the groups you created.
To change group names or members, select Edit
. You can also delete the group here.To start over, select Recreate groups.
When everything looks good, select Done.
If you need to make more edits, go back to the assignment creation form and select Collaboration groups to revise.
Finish adding details to your assignment, and then select Assign.
If you choose Reuse existing
Save time by reusing collaboration groups from a previous assignment instead of creating new groups each time.
Prerequisite: Reuse existing only works if you already created a previous assignment with collaboration groups. If this is your first group assignment, choose Manually or Randomly.
How reuse works: Reuse copies the full group structure and student membership from the previous assignment.
- Select Use groups from a previous assignment.
- Choose the assignment with the collaboration groups you want to reuse.
- Review and confirm the groups.
- If needed, select Edit to update group names or membership.
- When everything looks good, select Done.
- Finish adding details to your assignment and select Assign.
Move students between groups (before submissions)
Important
Once any student in a collaboration group submits work, that group's membership is locked. You can only move students between groups before submissions begin.
- Open the assignment.
- Select Manage collaboration groups.
- Select the student you want to move.
- Choose their new group from the dropdown.
- Select Save.
The student is notified of the change, and their submission is associated with their new group.